Skip to content
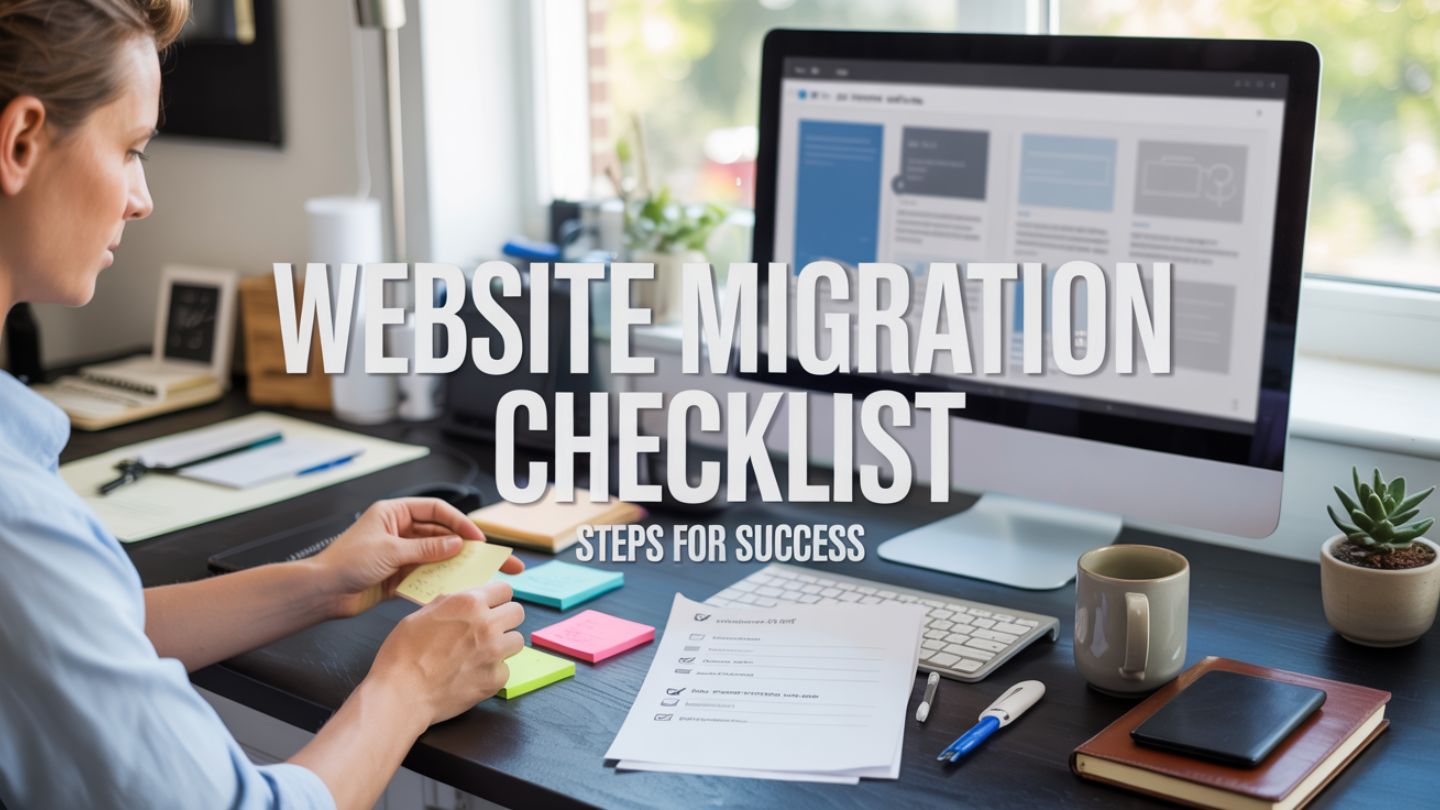
Moving a website can feel like a high-stakes operation. Whether you are changing domains, switching hosting providers, or upgrading your platform, a successful website migration is critical for preserving your SEO rankings, user experience, and overall online presence. A misstep can lead to lost traffic, broken links, and a frustrating experience for your visitors. This guide provides a comprehensive website migration checklist to help you navigate the process smoothly and ensure a successful transition.
By following a structured plan, you can minimize risks and keep your digital assets secure. We will walk through the essential stages of the process, from initial planning to post-launch monitoring, giving you the clarity needed to execute a flawless move.
Phase 1: Pre-Migration Planning and Preparation
The foundation of a successful website migration is meticulous planning. Rushing into the technical steps without a clear strategy is a recipe for disaster. This initial phase is about understanding the scope, setting objectives, and gathering the resources you need.
Define Your Goals and Scope
First, clarify why you are migrating. Are you moving to a more powerful server for better performance? Rebranding with a new domain name? Or are you switching to a more flexible content management system (CMS)? Your objectives will shape every decision that follows. Document the scope of the migration. This includes identifying all assets to be moved, such as pages, images, databases, and custom functionalities.
Assemble Your Migration Team
A website migration is rarely a one-person job. Identify the key people who will be involved. This might include developers, SEO specialists, content managers, and designers. Assign specific roles and responsibilities to each team member to ensure clear communication and accountability throughout the project.
Conduct a Full Website Audit
Before you move anything, you need a complete inventory of your current site. A thorough technical SEO audit is the first step. Use crawling tools like Screaming Frog or Semrush to map out all your URLs, identify existing redirect chains, and find 404 errors or other technical issues. This audit is your roadmap, showing you exactly what needs to be fixed and preserved.
Your audit should also include a content review to decide what to keep, what to improve, and what to discard. This is an excellent opportunity to clean up your site and get rid of outdated or low-performing content. A deep audit gives you a baseline for your site’s health, which will be vital for comparison after the migration is complete.
Phase 2: Technical Setup and Data Backup

With a solid plan in place, you can move on to the technical preparations. This phase is about setting up your new environment and safeguarding your existing data.
Choose Your New Hosting Environment
If you are changing hosts, select a provider that aligns with your performance, security, and scalability needs. Set up the new server environment and configure it properly. This includes installing the necessary software, setting up your CMS, and ensuring the server can handle your expected traffic load.
Create a Complete Backup
This step is non-negotiable. Before making any changes, create a full backup of your entire website. This includes all files, databases, images, themes, and plugins. Store this backup in a secure, off-site location. Should anything go wrong during the migration, this backup will be your safety net, allowing you to restore your site to its original state. It is wise to create multiple backups for added security.
Set Up a Staging Site
Never perform a migration on a live website. Instead, create a staging or development environment. This is a private copy of your new website where you can perform the migration and test everything without affecting your current live site. Your staging site should be an exact replica of the new server environment to ensure that what works in testing will also work after launch.
Phase 3: The Migration and Testing Process
This is where the actual move happens. Your focus should be on careful execution and thorough testing to catch any issues before your audience does.
Migrate Your Data
Begin migrating your website’s content and data to the staging environment. The method will depend on your specific situation. It could involve a simple database import/export, using a migration plugin for your CMS, or a more complex manual process for custom-built sites. Pay close attention to migrating all your content, including blog posts, product pages, images, and user data.
Implement URL Redirects
One of the biggest risks of a website migration is losing SEO value due to broken links. You must map every old URL to its corresponding new URL. Create a 301 redirect map in a spreadsheet, listing each old URL and its new destination. This map will be used to implement server-side redirects, telling search engines and users that your pages have moved permanently. This step is crucial for passing link equity and preserving your search rankings.
Conduct Extensive Testing
Once the data is migrated and redirects are set up on the staging site, it is time for comprehensive testing. Check for:
- Broken Links: Crawl the staging site to find any internal or external broken links.
- Functionality: Test all forms, buttons, shopping carts, and other interactive elements.
- Content and Design: Ensure all content has been migrated correctly and that the design displays properly across different browsers and devices.
- Redirects: Test a sample of your 301 redirects to ensure they point to the correct pages.
- Page Load Speed: Analyze the performance of the new site and optimize where necessary.
Involve your entire team in the testing process to get multiple perspectives and catch as many bugs as possible before going live.
Phase 4: Go-Live and Post-Migration Monitoring

After extensive testing and final checks, you are ready for launch day. The work is not over yet; post-launch monitoring is essential to ensure a smooth transition.
Choose a Launch Time
Schedule the launch during a period of low traffic, such as late at night or over a weekend. This minimizes the potential impact on your users if any immediate issues arise. Announce any planned downtime to your audience in advance.
Execute the Launch Plan
On launch day, follow your pre-defined plan. This typically involves:
- Putting the old site into maintenance mode.
- Performing a final data sync if necessary.
- Updating your DNS settings to point your domain to the new server.
- Implementing your 301 redirects on the live server.
- Removing any password protection from the new site.
- Updating and submitting your XML sitemaps to Google Search Console to help search engines find and index your new URLs quickly.
Final Thoughts
A successful website migration requires careful coordination, technical expertise, and ongoing optimization. By following this checklist, you can protect your SEO performance, maintain site integrity, and deliver a seamless experience for your visitors.
If you’re planning a migration and want to ensure every detail is handled correctly, our Web Design and digital strategy team at The Ocean Marketing is here to help. We provide full-service support, from planning and technical setup to testing and post-launch monitoring, for a smooth, SEO-friendly migration that aligns with your brand and design goals. Contact us today to discuss your website migration and Web Design project, and let us help you make the transition secure, efficient, and successful.