
Managing a Facebook Page is a significant responsibility. Whether you’re a business owner passing the torch, an agency handing over assets to a client, or simply reorganizing your digital roles, there comes a time when you need to transfer ownership of a Facebook Page. This process might seem daunting, but it’s a straightforward procedure when you know the steps. This blog will walk you through everything you need to know to transfer Facebook Page ownership smoothly and securely, ensuring a seamless transition for your brand’s online presence.
Key Takeaways
- Only a current Admin can transfer Facebook Page ownership, and the new owner must be granted full control to assume complete management rights.
- Facebook enforces a 7-day security waiting period for new Admins before they can remove other Admins or delete the Page, helping prevent unauthorized takeovers.
- Proper planning before the transfer, such as reviewing performance, strategy, and competitive positioning, ensures continuity and protects the Page’s long-term value.
Understanding Facebook Page Roles
Before initiating a transfer, it’s crucial to understand the different roles available for a Facebook Page. Facebook offers a tiered system of access, each with varying levels of permissions. The highest level, and the one required for transferring ownership, is “Admin.”
- Admin: Admins have complete control over the Page. They can manage all settings, assign roles, create and delete posts, run ads, and view insights. Most importantly, only an Admin can add or remove other Admins, making this the key role for ownership transfer.
- Editor: Editors can do everything an Admin can do except manage Page roles and settings. They can create content, respond to messages, and run ads.
- Moderator: Moderators can respond to comments, remove comments, and send messages as the Page. They have limited content creation and no administrative privileges.
- Advertiser: This role is focused solely on creating ads and viewing insights related to those ads.
- Analyst: Analysts have the most limited access, with permissions only to view Page insights and see who published on the Page.
To transfer full ownership, you must grant the new owner Admin access. This gives them the power to manage the Page entirely, including the ability to remove you as an Admin afterward.
When evaluating who should receive full control, it’s helpful to consider how the Page fits into your broader social media funnel strategy. Ownership isn’t just about access; it’s about ensuring the person taking control understands how content, engagement, and paid campaigns work together to generate measurable results. A clear funnel strategy ensures continuity after the transfer.
Prerequisites for Transferring Ownership

To ensure a smooth transfer, make sure you have a few things in order first. These prerequisites are designed to protect both the current and future owners of the Page.
- You Must Be an Admin: Only a current Admin of the Facebook Page can initiate an ownership transfer by adding another user as an Admin. If you are not an Admin, you will need to ask an existing Admin to either perform the transfer or elevate your role.
- Friendship on Facebook (Recommended): The person you are transferring ownership to must have a personal Facebook account. While not strictly required to be “friends” on Facebook, it often makes the process easier to find and add them. The new owner must also “like” the Page before you can assign them an Admin role.
- Wait Period for New Admins: For security, Facebook enforces a 7-day waiting period after you become an Admin before you can remove another Admin or delete the Page. This is a vital security feature to prevent hostile takeovers. Keep this in mind during the transition plan. The original owner should remain an Admin for at least a week to ensure the new owner has full capabilities.
Before completing a transfer, it’s also wise to conduct a structured review similar to how to perform a social media competitive analysis. Understanding how the Page compares to competitors, what content performs best, and where opportunities exist allows the new owner to step in with strategic clarity rather than starting from scratch.
Step-by-Step Guide to Transfer Facebook Page Ownership
Transferring ownership is done through the Page’s settings. Follow these detailed steps to complete the process. This guide uses Facebook’s updated “New Pages Experience.”
Step 1: Navigate to Your Page Settings
First, go to the Facebook Page you wish to transfer. Make sure you are interacting as your personal profile, not the Page itself.
- On your Page, look for the “Manage” button near the top. Click it.
- This will take you to your Professional Dashboard. On the left-hand menu, scroll down until you see the “Page Access” Click on it.
Step 2: Add the New Admin
The “Page Access” screen shows everyone who has a role on your Page.
- At the top of the “People with Facebook access” section, click the “Add New”
- A pop-up will appear explaining what it means to grant Facebook access. Click “Next.”
- A search bar will appear. Type the name or email address of the person you want to add as the new owner. Select the correct person from the list.
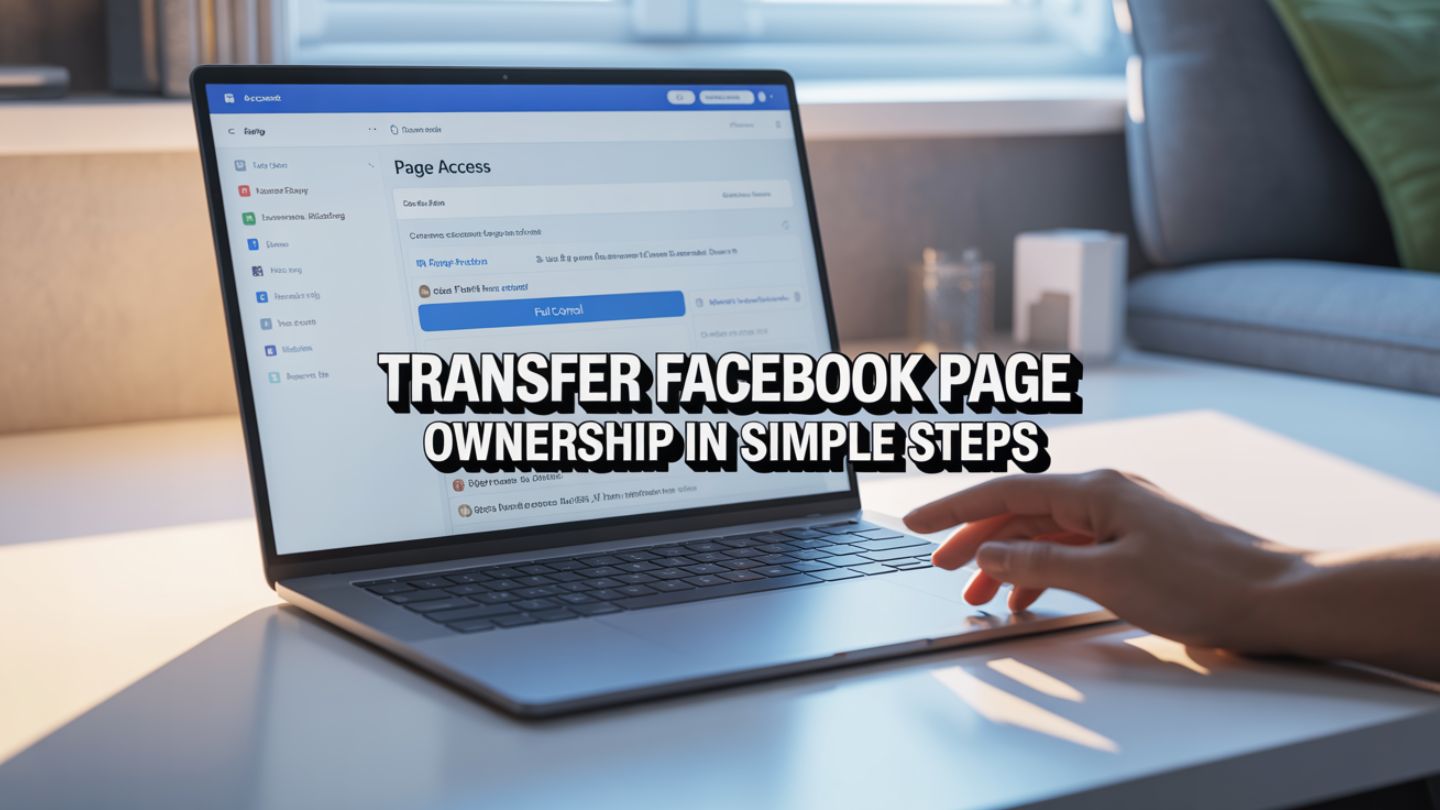
- You will now see a “Give Access” screen. This is the most critical step. Here, you will assign permissions. To transfer ownership, you must toggle on the option that says “Allow this person to have full control.”
- Read the warning carefully. Granting full control gives the person the ability to add and remove anyone, including you, and even delete the Page.
- Click the“Give Access”
Step 3: Confirm Your Identity and Send the Invitation

For security purposes, Facebook will ask you to re-enter your password to confirm that you are authorized to make this change.
- Enter your Facebook password when prompted.
- Click “Confirm.”
- An invitation will now be sent to the person you selected. The invitation is valid for 30 days.
Step 4: The New Owner Accepts the Invitation
The process is not complete until the recipient accepts the Admin invitation. They will receive a notification on Facebook.
- The new owner must click on the notification and select “Review Invitation.”
- They will see details about the access they are being granted. They should click “Next.”
- Finally, they must click the “Accept” button to confirm.
Once they accept, they will immediately have full Admin control over the Page.
Step 5: Removing Yourself as an Admin (Optional)
After the new owner has accepted their role and you have confirmed they have full access, you may want to remove yourself from the Page. This step officially completes the transfer of ownership.
- Return to the “Page Access”
- You will see your name listed under “People with Facebook access.” Click the three dots next to your name.
- Select “Remove from Page.”
- You will be asked to enter your password again to finalize the removal.
Once you confirm, you will no longer have any administrative access to the Page. The new Admin is now the sole owner. It is good practice to wait a few days before removing yourself to ensure the new owner is comfortable with the controls and that the transition is stable.
During this transition phase, maintaining visibility in search results remains important. Aligning the Page with best practices in social media SEO and how to rank social content on Google helps preserve discoverability, especially if the Page has a strong engagement history or ranks for branded search terms. Optimizing posts, metadata, and cross-platform signals ensures momentum isn’t lost during the handoff.
Transferring a Page via Business Suite / Business Manager

If your Page is connected to a Meta Business Suite (formerly Business Manager), the process is slightly different. Business Suite is designed for agencies and larger businesses managing multiple assets.
- Go to facebook.com and select the correct Business Account.
- Click the gear icon for “Settings.”
- Under “Users,” click “People.” Add the new owner to your Business Account by clicking “Add” and inviting them via email.
- Once they’ve joined, navigate to “Accounts” and then “Pages.”
- Select the Page you want to transfer.
- Click “Add People” and select the new owner’s name.
- Assign them “Full Control” to grant them Admin access.
To fully transfer ownership, you may need to transfer ownership of the Business Account itself, which can be done under “Business Info” in the settings.
Final Thoughts
Transferring Facebook Page ownership requires a clear understanding of Page roles, proper Admin permissions, and careful execution through Facebook’s settings or Meta Business Suite. By granting full control to the new Admin, confirming the invitation, and following the recommended security waiting period, you can ensure a smooth and secure transition. Taking time to review strategy, performance, and visibility before finalizing the transfer helps protect the value of your digital asset and ensures continued growth after the handoff.
At The Ocean Marketing, we specialize in social media marketing strategies that go beyond basic account management. From ownership transitions to long-term growth planning, our team ensures your brand maintains visibility, engagement, and lead generation momentum. As part of a smooth transition, it’s also important to evaluate your overall digital performance. A structured free SEO audit can uncover opportunities to strengthen your online presence and improve search rankings alongside your social strategy. If you’re preparing for a Facebook Page transfer or looking to optimize your digital marketing efforts, contact us to discuss how we can support your business goals.